The deadlift is one of the few exercises that puts the entire body to work. You grip a load off the floor, stand up with it, then put it back down. The movement looks simple. It still demands precise positioning, especially through the back.
A lot of lifters meet the variations before they meet the lift itself. The basic movement stays vague, even though everything else is built on top of it. Here is how to build it properly, from the setup to your first program.
A core lift in its own right
This is a vertical pull where the hips and knees work together. The bar travels up along the legs, never drifting away from the body. That closeness changes everything: the further the load sits from you, the longer the lever arm, and the more your spine pays for it.
The deadlift builds strength you actually use: carrying groceries, picking up a heavy box, staying on your feet for hours. It is also an excellent diagnostic. If one link in the chain is weak, the lift shows it immediately.
Which muscles do the work
The posterior chain does most of the job, but the upper body is never idle. The arms are nothing more than hooks.
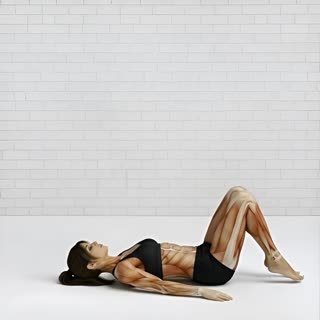 Hamstrings and glutes: the engine behind hip extension.
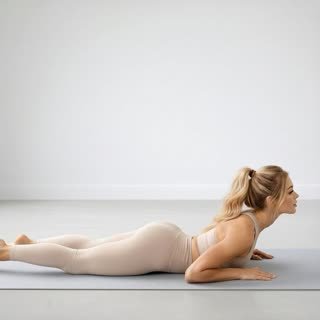 Spinal erectors: they hold the spine in place from start to finish.
 Quads: the initial push, as the bar breaks off the floor.
- Lats and traps: they keep the load glued to your legs.
- Deep abdominals: trunk stability.
Bracing acts here like a natural belt. Let your midsection go soft and you lose your position within a second.
Back position: the line to protect
Why a rounded back is a problem
Under load, a curved spine spreads the stress badly. The discs take heavy pressure over a small area. The risk is not immediate, it builds up. A flat back, by contrast, transmits force from the floor to your hands with nothing lost along the way.
Finding a neutral position and holding it
There is no need to arch the lower back hard. You are looking for neutral: the natural curves stay where they are, nothing more. Take a breath, pull your ribs down, lock it all in, then pull.
One simple cue helps a lot: your neck is an extension of your back. Look at the floor about two metres in front of you. Lifting your head towards the ceiling breaks that alignment and usually makes the hips shoot up early. The torso leans forward, but never becomes parallel to the floor.
Running the full lift, step by step
The setup
Your feet are hip-width apart, with the bar over the middle of the foot. Your hands go just outside your legs, roughly shoulder-width apart. A slight knee bend is enough: the shin comes to brush the bar, no further. This starting position dictates everything that follows.
The way up
Push the floor away with your feet instead of pulling with your arms. Hips and shoulders should rise at the same speed. Once the bar clears knee height, drive your hips forward and finish standing tall with your glutes squeezed. No need to lean back.
The way down
The return follows the same path in reverse. Hips travel back first, then the knees bend, once the bar has passed below the kneecap. Set the load down, check your position, go again. Every rep starts from a clean setup.
Barbell, dumbbells or band: picking your resistance
The Olympic barbell is still the reference, because its starting height is standard. With no access to a gym, two dumbbells placed either side of your feet do the job perfectly well. A resistance band gives progressive tension, lighter at the bottom of the movement: handy for learning at home before moving to iron.
How much weight to start with
Start light, genuinely light. A good benchmark: a weight you can move ten times without your position changing once. If the line of your back shifts on the third rep, the load is too heavy. Nobody progresses by cheating the technique.
The mistakes that come up most often
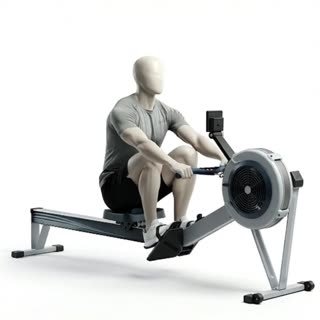 Pulling with the arms instead of pushing into the floor.
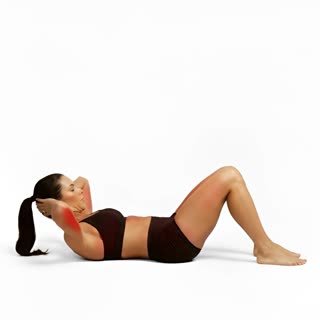 Letting the hips rise on their own, which turns the lift into a simple trunk bend.
- Letting the bar drift away from the shins off the floor.
 Holding your breath across several reps in a row.
- Adding weight every week without ever filming yourself.
One point deserves particular attention: fatigue. The last reps of a long set almost always degrade your position. Stop the set one or two reps short of failure — quality comes first.
Programming the deadlift as a beginner
Useful frequency and volume
Two sessions a week is plenty for the first few months. The question of how many reps to do every day comes up constantly, squats included, and the answer does not change: this kind of movement needs recovery. Three to four sets of five reps, at a moderate load, build a solid base.
Progressing without getting hurt
Add 2.5 kg as soon as the five reps go up without visible effort. That progression feels slow. Over six months, it adds up to a considerable gain. You need to keep some margin in the tank: the technique has to look the same on the first rep and the last.
Fitting it alongside squats
Squats and deadlifts complement each other well. The first hits the quads harder, the second the posterior chain. Keep at least forty-eight hours between them. Goblet squats, sumo squats or Bulgarian split squats with dumbbells work as lighter accessory work, without draining the lower back.
Variations to explore next
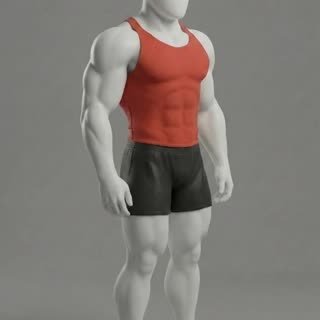
étirement ischio-jambiersJambes
Once you own the full lift, two variations are worth the trip. The Romanian deadlift targets the hamstring stretch over a shorter range. The stiff-legged version goes further still and demands good mobility. The sumo stance, with the feet very wide, shortens the distance the bar travels: it lets a lot of lifters with long femurs keep a more upright torso.
Frequently asked questions
Should you deadlift every day?
No. As a rough guide, two sessions a week already produce excellent strength results. Daily heavy work leaves your tissues no time to recover. Fewer reps, done well, beat the alternative.
Which muscles does it actually train?
Glutes, hamstrings, spinal erectors and quads first and foremost. The lats, traps and forearms hold the load in place. That is what makes it a full-body exercise rather than a back exercise.
How do I know if I am doing it right?
Film yourself from the side on a light set. The bar should stay on a vertical line, and your back should keep the same curve from the floor to lockout. If you are unsure, one session with a personal trainer fixes in minutes what a video will not show you.
Is a slightly rounded back always off limits?
On heavy loads, yes — everyone is better off avoiding a curved position. A rounded back is not a curse in itself, but it gets risky as soon as the weight goes up. While you are learning, keep the back flat, no exceptions.
Does this lift help with fat loss?
Indirectly. No exercise burns fat on its own: the calorie deficit decides that. Heavy lifts contribute by raising energy expenditure and, above all, by protecting muscle mass while you lose weight.